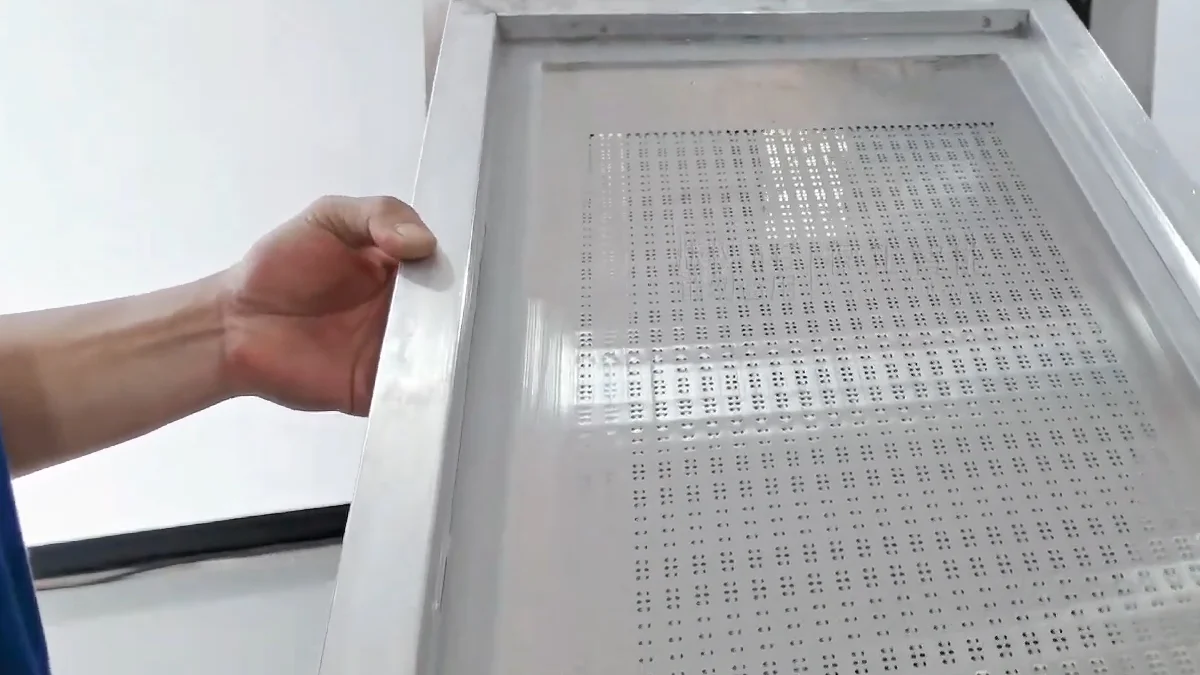
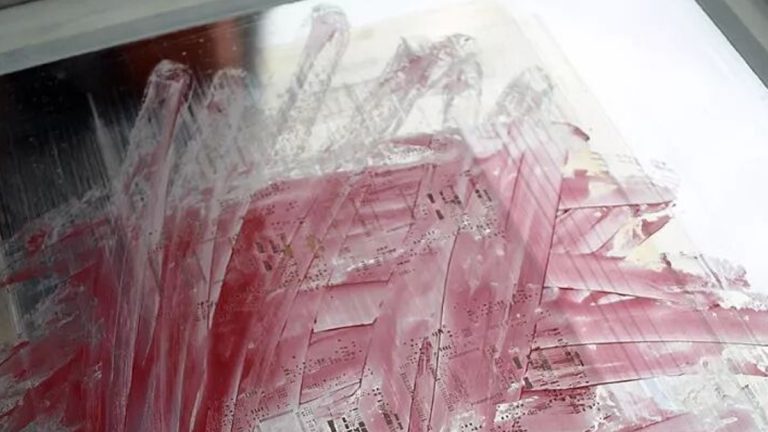
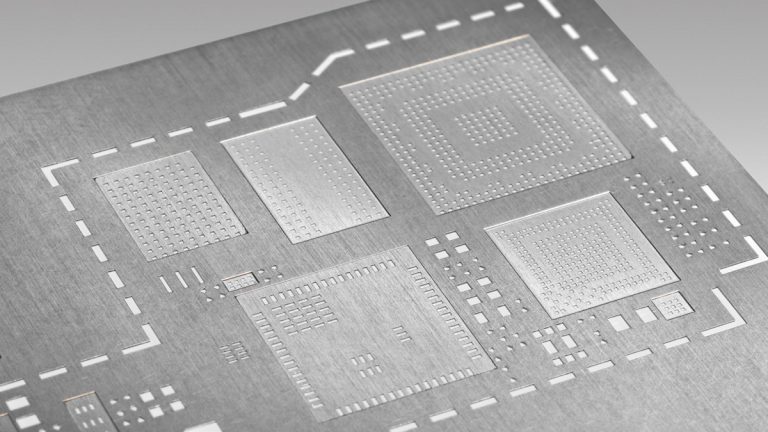
Blocked stencil apertures restrict solder-paste transfer onto PCB pads. The result may be insufficient paste, incomplete deposits, inconsistent component placement and weak solder joints after reflow.
Preventing blockage requires control of the solder paste, printing parameters, understencil wiping and offline stencil cleaning.
What Blocks a Stencil Aperture?
Dried Solder Paste
Solder paste begins to dry when the stencil remains exposed for too long, especially during production stops or slow printing cycles.
Dried paste can collect inside small apertures and becomes more difficult to remove during normal understencil wiping.
Incomplete Understencil Cleaning
Paste transferred to the underside of the stencil can spread around aperture openings. If the wiping process does not remove it, repeated printing can pull the residue back into the apertures.
Incorrect Solder-Paste Handling
Paste used outside the supplier’s recommended temperature and working time may change viscosity or begin drying.
Adding fresh paste to contaminated or partly dried paste can spread the problem across the stencil.
Incorrect Printing Parameters
Excessive or insufficient squeegee pressure, unsuitable print speed and incorrect stencil separation can leave paste inside the apertures.
The printer settings must match the solder paste, stencil thickness, aperture design and PCB support.
Small or Difficult Apertures
Fine-pitch components and area-array packages use small apertures that release less easily than larger openings.
Aperture size, shape, wall condition and stencil thickness all affect solder-paste transfer.
Damaged Aperture Walls
Scratches, dents and hardened residue can interfere with paste release. Mechanical scraping with sharp tools can damage the aperture and make repeated blockage more likely.
Control Solder-Paste Condition
Store, condition and use solder paste according to the supplier’s instructions.
Record the time the paste is removed from storage, opened and placed on the stencil. Replace paste that has exceeded its recommended working time or shows signs of drying and separation.
Do not return contaminated paste from the stencil to a clean container.
Reduce Long Printing Stops
Solder paste can dry in small apertures when production stops but remains on the stencil.
During extended interruptions, remove the excess paste and clean the stencil according to the production procedure. Restarting with partly dried paste can immediately produce incomplete deposits.
Set the Printer Correctly
Check squeegee pressure, print speed, separation speed and PCB support.
The squeegee should roll the paste across the stencil and fill the apertures without leaving excessive residue. Too much pressure can remove paste from the aperture, while poor contact between the PCB and stencil can cause smearing.
Settings should be confirmed using printed deposit results rather than copied from another PCB model.
Use Understencil Wiping
Understencil wiping removes paste and contamination from the contact side of the stencil during production.
The wiping interval depends on the aperture size, solder paste, PCB design and print results. Fine-pitch assemblies may require more frequent cleaning than boards with large pads.
Dry, wet or vacuum-assisted wiping should be selected according to the printer and solder-paste process.
Inspect the Printed Deposits
Check the first printed boards and continue monitoring during production.
Look for missing deposits, reduced paste volume, smearing and repeated defects in the same pad location. Solder paste inspection can identify transfer problems before components are placed.
When the same deposit repeatedly fails, stop printing and inspect the corresponding stencil aperture.
Remove the Stencil for Offline Cleaning
Understencil wiping is intended for contamination accumulated during printing. It may not remove dried paste from deep or fine apertures.
Remove the stencil for complete cleaning when apertures remain blocked, the underside cannot be cleaned consistently or production changes to another solder paste or adhesive.
Remove Excess Paste → Clean Both Sides → Filter the Cleaning Liquid → Dry the Stencil → Inspect the Apertures
Select Compatible Cleaning Chemistry
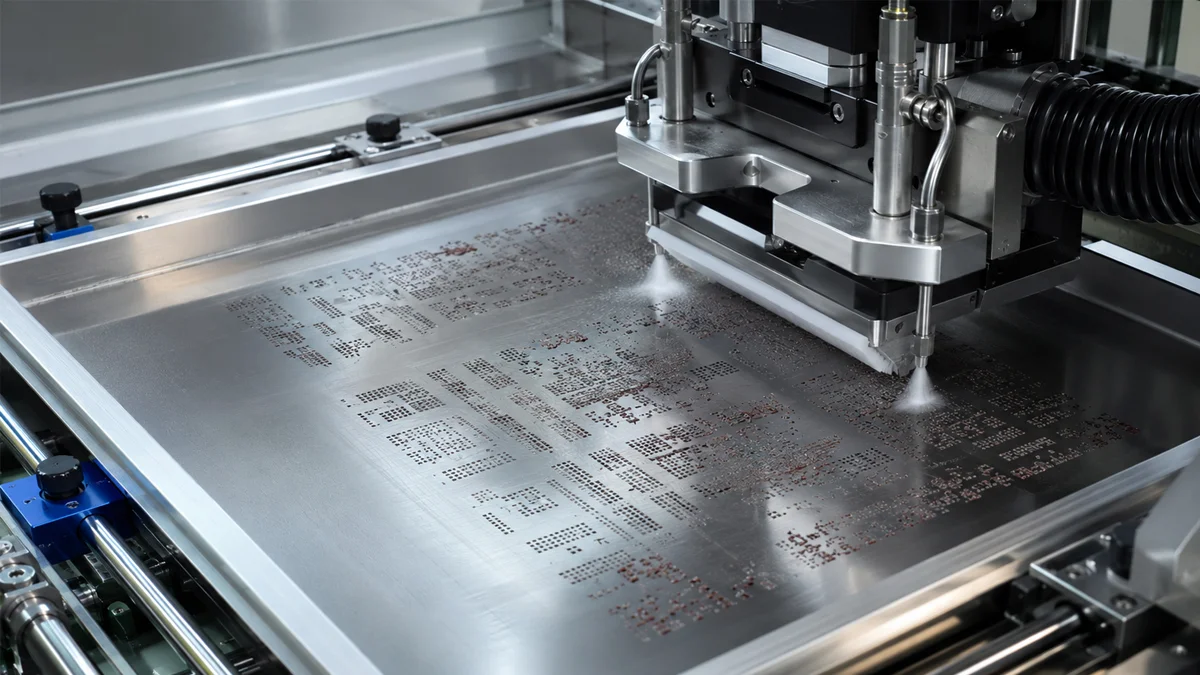
The cleaning agent must dissolve the solder paste, red glue or flux without damaging the stencil, frame, mesh, adhesive or surface coating.
Water-based and solvent cleaning processes use different chemistry, rinsing, drying and utility requirements. Confirm material compatibility before introducing a new cleaning liquid.
Do not assume that a stronger chemical or longer cleaning time will produce a better result.
Clean Both Sides of the Stencil
Cleaning only the underside may leave material inside the apertures or on the print side.
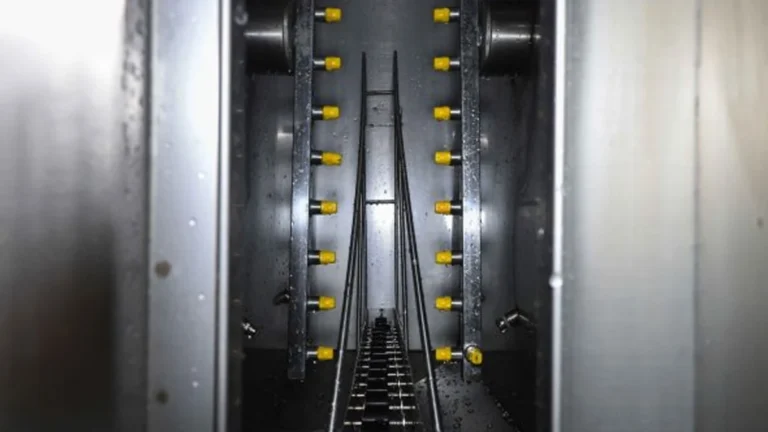
A spray-cleaning process should direct cleaning liquid towards both stencil surfaces and through the aperture openings. Filtration prevents removed paste particles from being continuously returned to the stencil.
Dry the Stencil Completely
Cleaning liquid left inside fine apertures can contaminate fresh solder paste and affect the next printing cycle.
Compressed-air or hot-air drying must reach both stencil surfaces and aperture openings. Inspect the stencil before returning it to production.
Inspect After Cleaning
Use suitable lighting or an aperture-inspection system to check for remaining paste, blocked openings, surface damage and loose contamination.
A stencil that appears clean from one side may still contain residue inside small apertures. Inspect critical fine-pitch areas from both sides.
How Often Should SMT Stencils Be Cleaned?
There is no single cleaning interval for every stencil.
Cleaning frequency depends on the solder paste, aperture size, stencil thickness, printing cycle, production stops and required paste-transfer consistency.
Use print inspection results and aperture condition to set the cleaning interval for each PCB model.
Pneumatic Solvent Cleaning
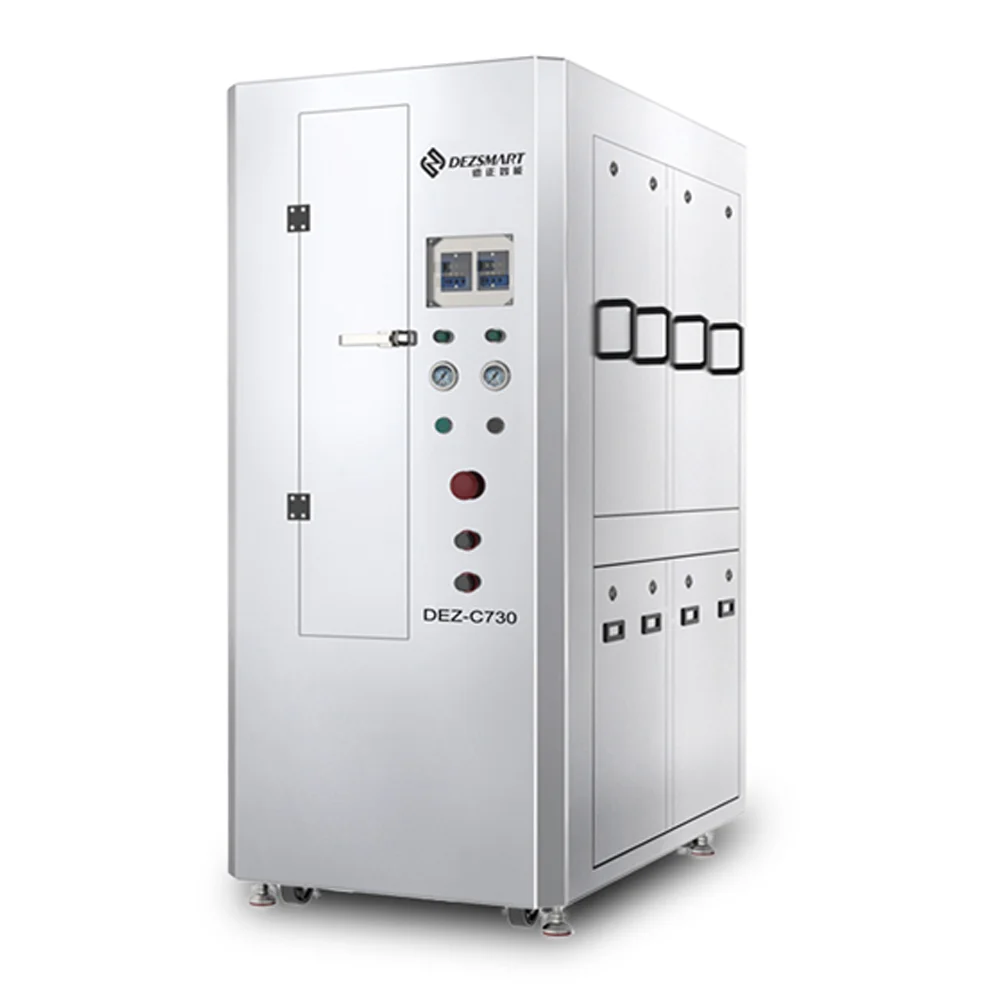
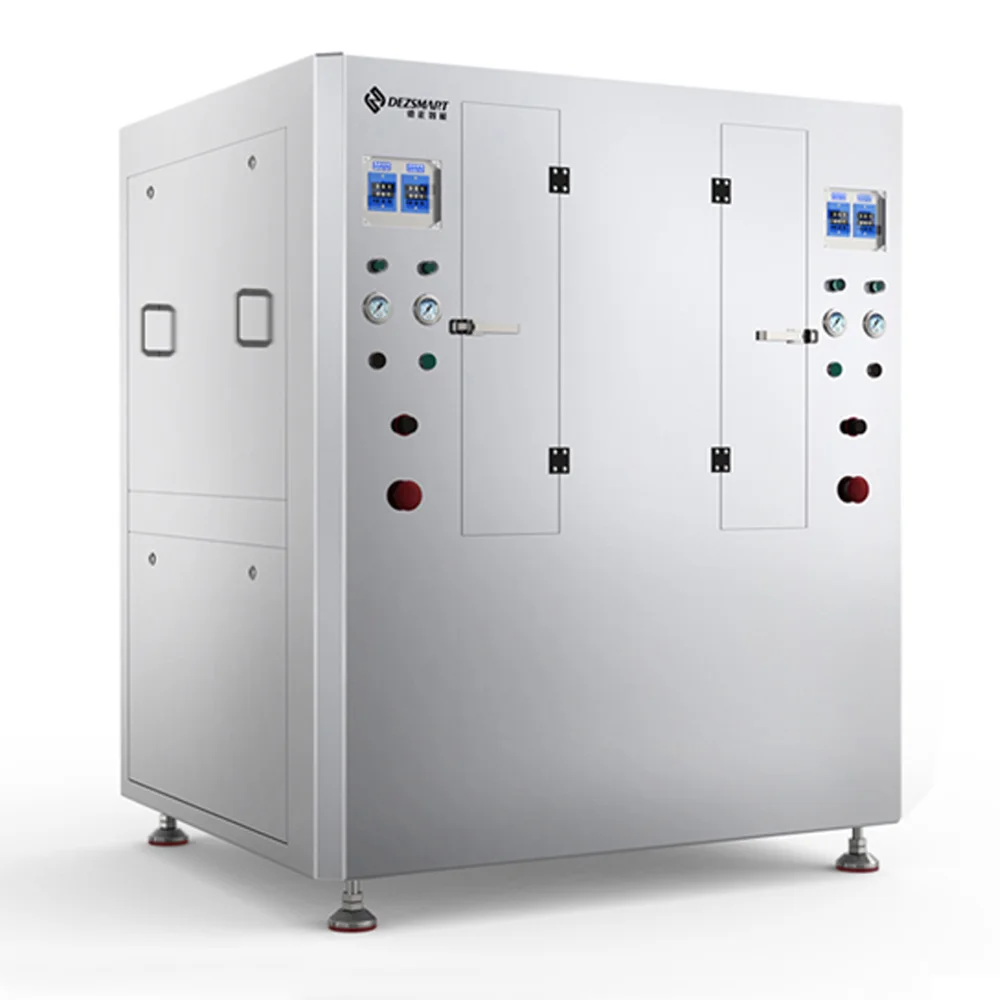
The DEZ-C730 and DEZ-C780 Pneumatic Stencil Cleaning Machines use compatible solvent spray cleaning, filtration and compressed-air drying.
These machines are suitable when the approved solder-paste cleaning process uses solvent and the factory can provide compressed air and exhaust.
Automatic Water-Based Cleaning
The DEZ-C750 Automatic Water-Based Stencil Cleaning Machine completes washing, DI-water rinsing and hot-air drying in one cycle.
It is suitable when the stencil, residue and production process are compatible with aqueous cleaning.
Machine selection should consider the stencil-frame dimensions, solder paste or adhesive, daily cleaning quantity, approved cleaning chemistry, drying requirement and factory utilities.
Prevent Repeated Stencil Blockage
A clean stencil can block again if the original printing problem is not corrected.
After cleaning, review the solder-paste condition, printer settings, wiping interval, aperture design and production-stop procedure. Confirm the result with a test print before restarting full production.
Request Stencil Cleaning Testing
Send the stencil-frame dimensions, solder paste or red-glue information, daily cleaning quantity and photographs of the blocked apertures.
DEZ can evaluate the cleaning process and recommend a pneumatic solvent or automatic water-based stencil cleaning machine.